

Phone Photography Tips for the Holidays

Yes, you can get amazing photos with your phone!
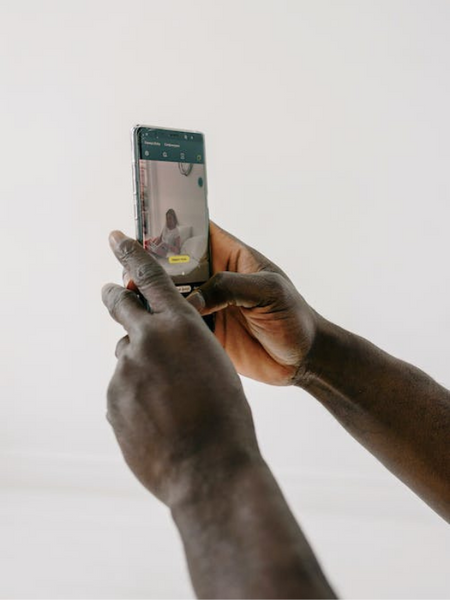
Nowadays, most of us capture our favorite moments with our phones rather than a fancy camera. But just because you’re not using a DSLR doesn’t mean you can’t get top notch photos! We’ve talked to the pros to discover the simplest and most effective ways to get a great shot every time. Follow our phone photography tips and tricks and you’ll be snapping stellar pics this holiday season and beyond!

1. Clean your lens
This may seem a bit obvious, but you wouldn’t believe how many people forget to clean their camera lens! Phones spend a lot of time in hands, pockets, and bags, exposing your lens to fingerprints, dust, and dirt. That can create unwanted blurs and dust spots on your photos. To avoid this, get in the habit of cleaning your lens regularly. Blow on it first to remove any grit that could scratch the lens and then clean it with a soft cloth. A clean lens is the first step towards clear and sharp photos!
2. Explore your camera
Set aside some time to learn about your camera. First, take a look at how auto mode works. Most cameras allow you to touch the screen to pick the focus point if autofocus is highlighting the wrong object. After picking a focus point, the exposure can often be adjusted through a sliding bar on the screen. If you know a bit more about photography, explore the manual settings to see if you can adjust things like white balance and shutter speed. Practice using different features such as portrait mode (blurs backgrounds to highlight the subject) and HDR (good for high-contrast scenes) so you can see their effects and easily access them in the future.

3. Snap multiple photos
A major benefit of phone photography is that you can take as many pictures as you like! Don’t hesitate to take several photos of each moment so you can pick out your favorite. If you have time to experiment with different exposures and focus points, go for it! We also love burst mode which snaps multiple pictures in a row to capture action-packed moments. It’s especially helpful for taking photos of children and pets who may not want to sit still for the camera. To free up storage space and save time later, go through multiples right away and only keep the best options.

4. Pay attention to lighting
Natural light is a (phone) photographer’s best friend! Daytime photos taken outdoors or indoors with adequate natural light usually look great with minimal adjustments. Snap your subject facing the light source for the best results. If the light source is behind them, they will appear in shadow, so only do this if you want a silhouette-style image. For taking photos in a dimmer indoor setting, try placing your phone on a flat surface or get a phone tripod. This will avoid the camera shake that causes blurriness when taking photos with low light. This tip also helps achieve crisper nighttime pictures!
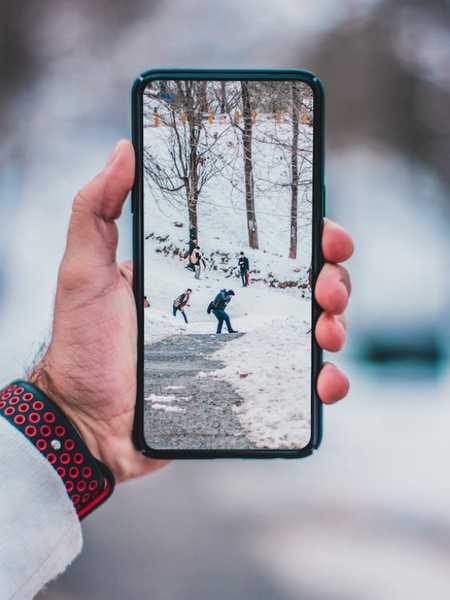
5. Frame your shot right
Our last tip can take a bit of practice for some folks, but learning how to frame your shot can transform an “okay” photo into an “okay-that’s-amazing!” photo. We suggest using the rule of thirds. In this technique, an image is divided into nine equal sections to form a three by three grid. You then aim to get the most interesting aspects of your image along the gridlines or where they intersect. This will create a compelling composition and give your image a natural feel. Of course, you can also center your subject if a simple, symmetrical look suits your shot better! Most phone cameras have a grid setting you can enable to help you frame your photo just right.
Speaking of framing… Don’t forget to custom frame your favorite photos at FastFrame! Our talented framers are ready to turn your best shots into custom-framed masterpieces. Visit www.fastframe.com/locations to find your nearest store.