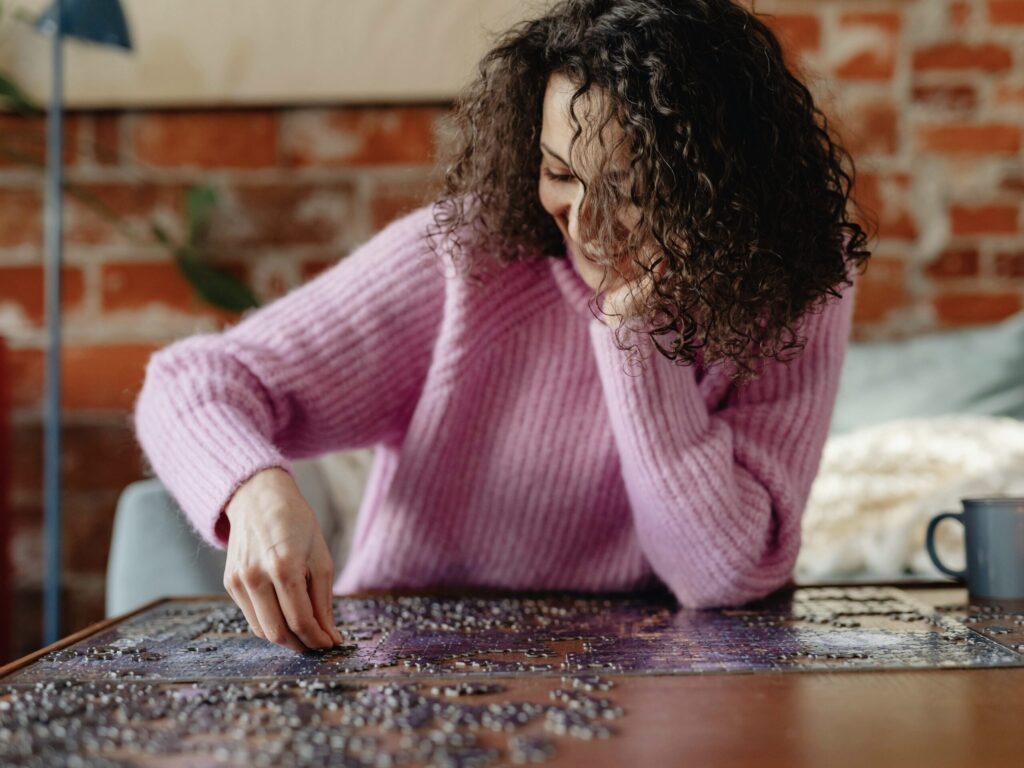
Puzzles are not just a pastime! They can also be works of art that remind us of the fun we had and the memories we made putting them together. After spending hours, days, or even weeks assembling a beautiful jigsaw puzzle, many enthusiasts choose to preserve their hard work by sealing and framing it. If you’ve just completed a puzzle and are considering making it a permanent fixture in your home, you’re in the right place. Here’s a step-by-step guide to help you seal a puzzle for framing.
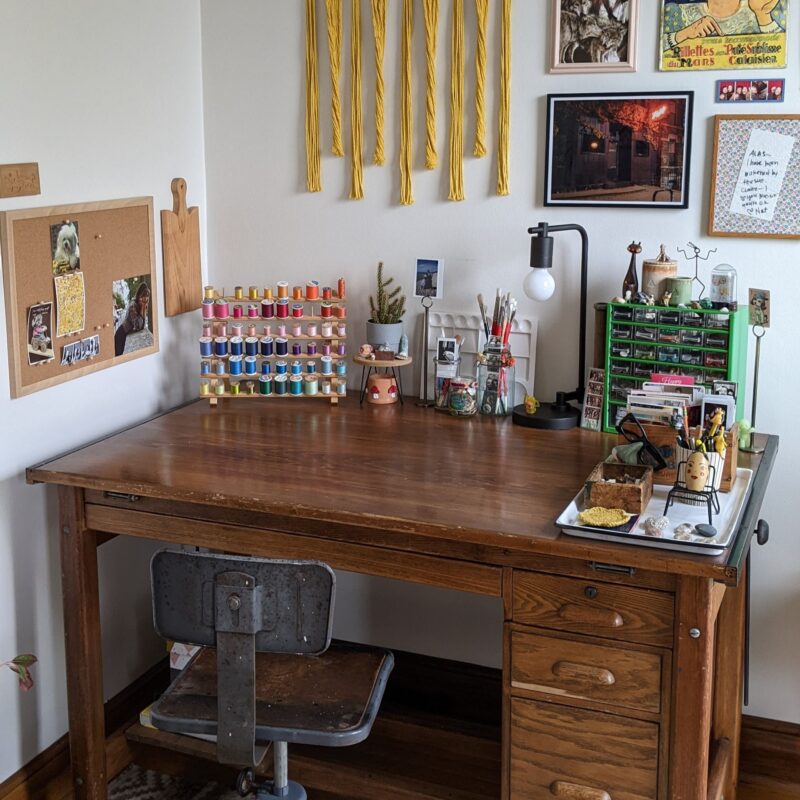
1. Choose the Right Location
Before you start, select a spacious, flat surface in a clean, dust-free area. This is crucial as you don’t want any particles sticking to your puzzle when sealing it. The surface should be large enough to accommodate the entire puzzle, with some extra space around its edges.
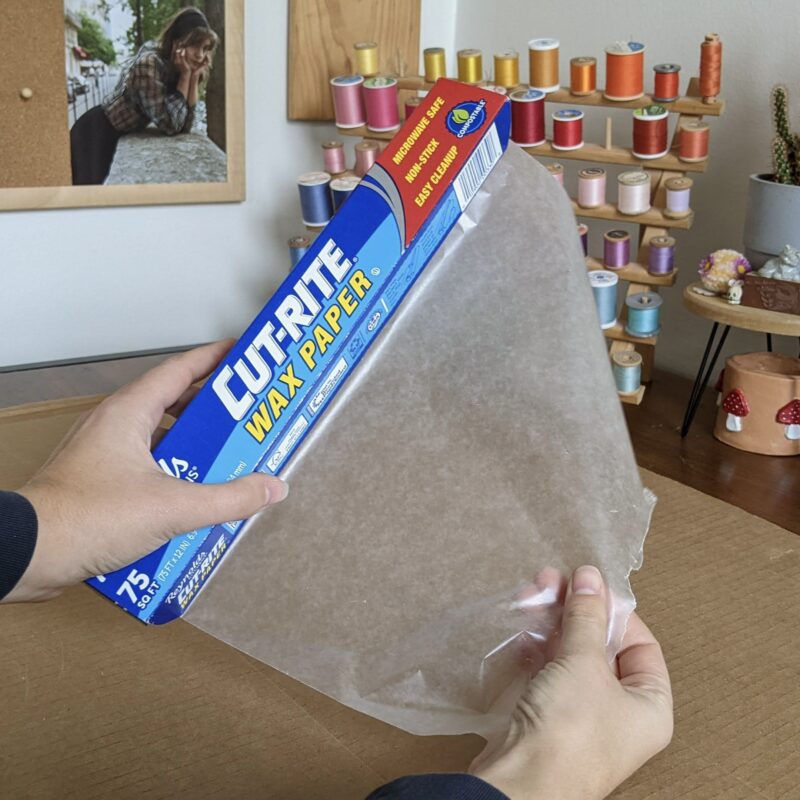
2. Slide Wax Paper Underneath
To prevent the puzzle from sticking and to protect the surface from adhesives, place either plastic wrap or wax paper onto the surface where you will be working. Ensure the paper covers a larger area than the puzzle to protect the entire workspace.
3. Choose Your Adhesive
There are several adhesives available for puzzles. Choose the one that’s best for your puzzle:
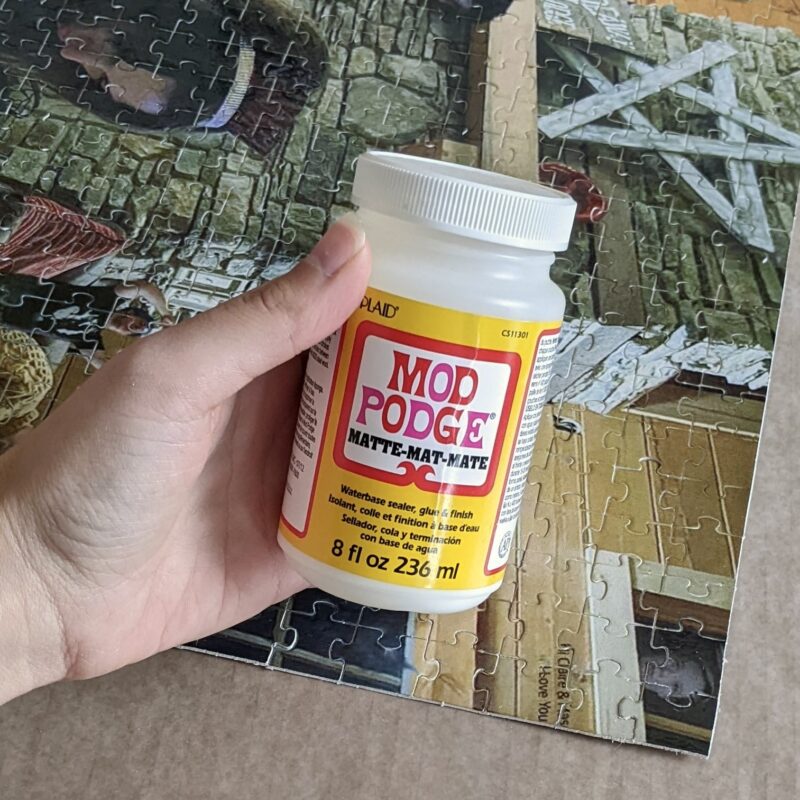
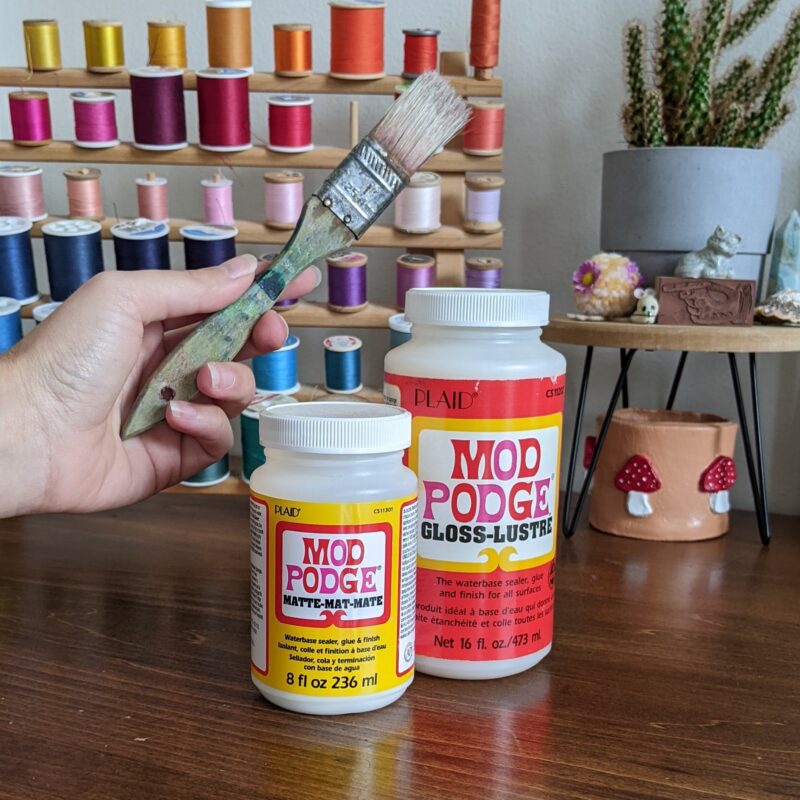
- Puzzle Conserver or Mod Podge: These are liquid adhesives. They typically dry clear and can offer a glossy finish.
- Glue sheets: These are adhesive sheets that stick to the back of the puzzle. They are excellent for larger puzzles and ensure pieces stay well connected.
4. Apply the Adhesive
Depending on the adhesive you choose, the method will vary.
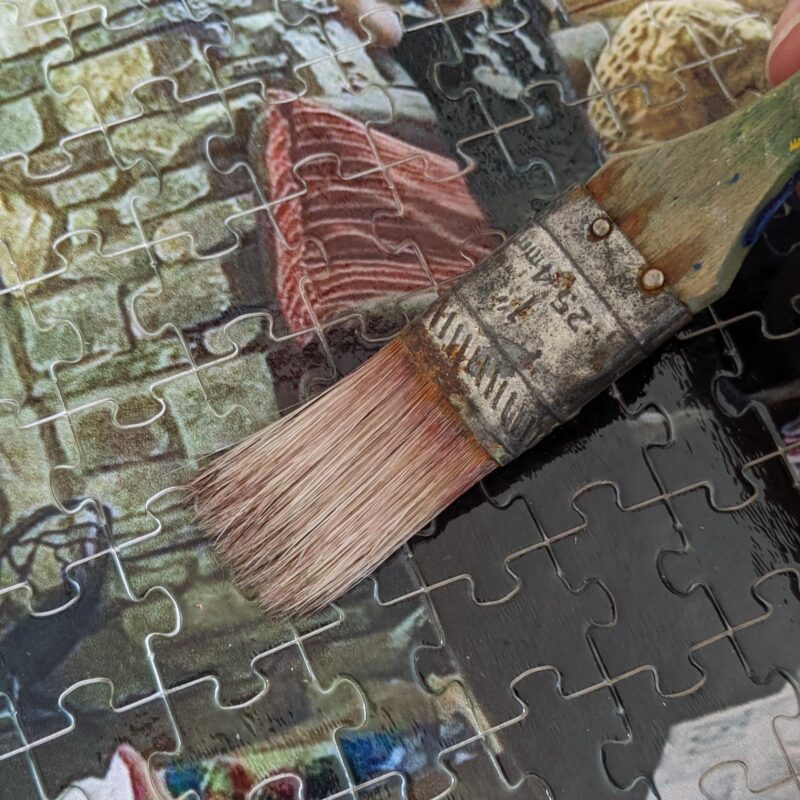
For liquid adhesives:
1. Using a brush or spreader, apply a moderate amount of adhesive on the puzzle’s front surface. Make sure to cover each piece, brushing in one direction (e.g., vertically) to ensure a smooth finish.
2. Wait for it to dry (usually a couple of hours) and then paint on a second coat, brushing in the opposite direction (e.g., horizontally).
3. As you paint, ensure the adhesive goes in all the grooves between the puzzle pieces.
For adhesive sheets:
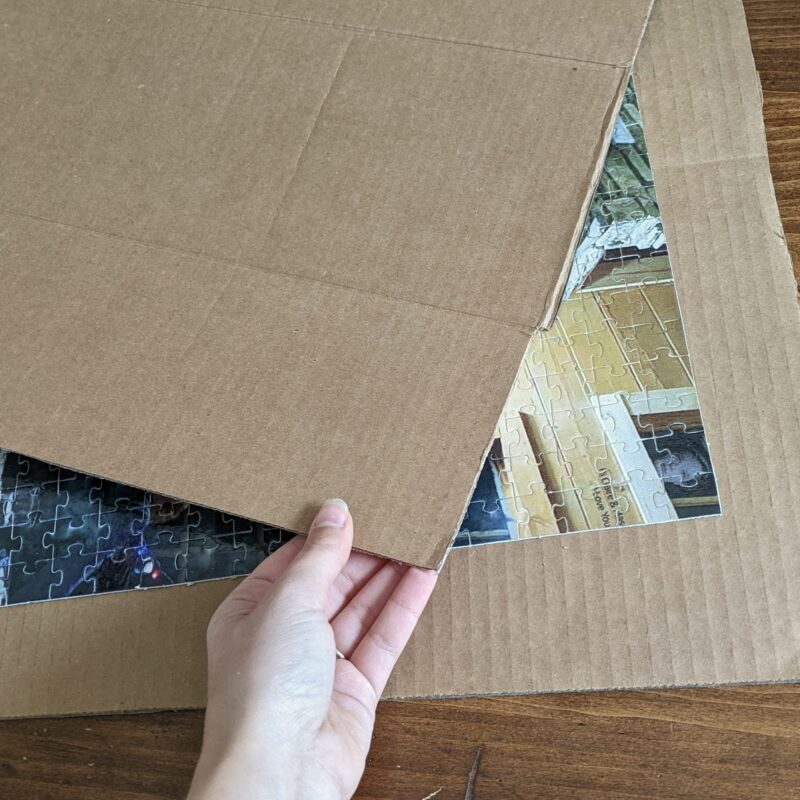
1. Adhesive sheets are applied to the rear of the puzzle. This means you may first need to turn the puzzle over. You can do this easily by sliding sheets of firm card or foam board under and over the puzzle, effectively sandwiching it. Once you sandwich the puzzle, you’ll be able to slowly flip it over without it coming apart. Once it’s flipped, remove the two sheets so the puzzle is lying evenly on your work surface with the back facing up at you.
2. Starting at one end of the puzzle, peel the backing off the adhesive sheet and carefully place it on the puzzle’s back. Make sure there are no bubbles or wrinkles.
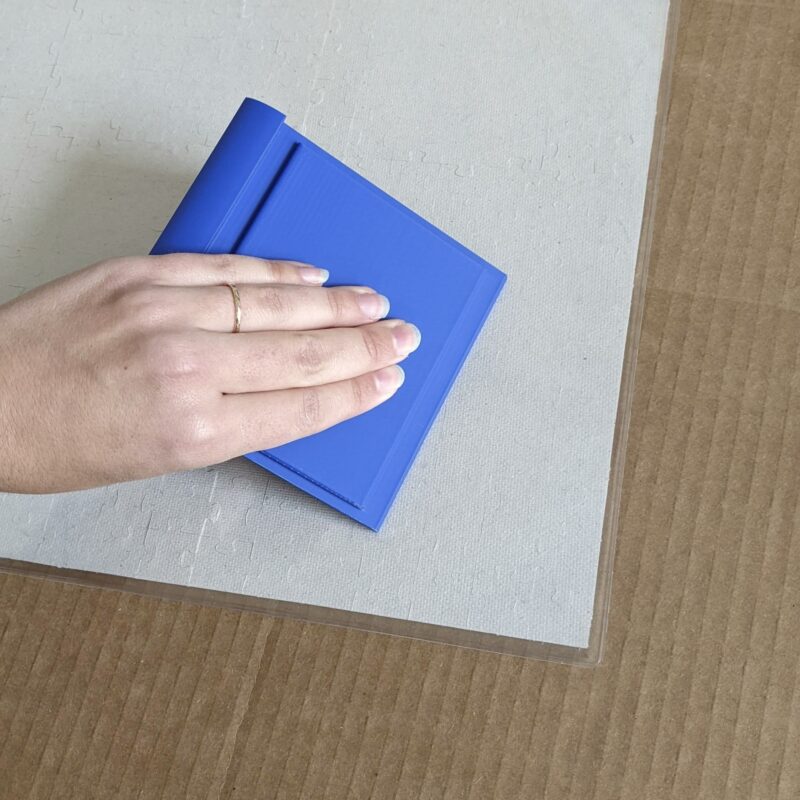
3. Moving a craft squeegee over the adhesive sheet in a brushing or scraping motion, press the sticky sheet onto the puzzle evenly while removing any bubbles. Pro tip: the squeegee you need is a craft squeegee. Do not use a window squeegee!
4. Trim excess adhesive (if necessary). Once your puzzle is fixed into position, using a blade, carefully trim away any adhesive sheet edges that extend beyond the puzzle’s outline.
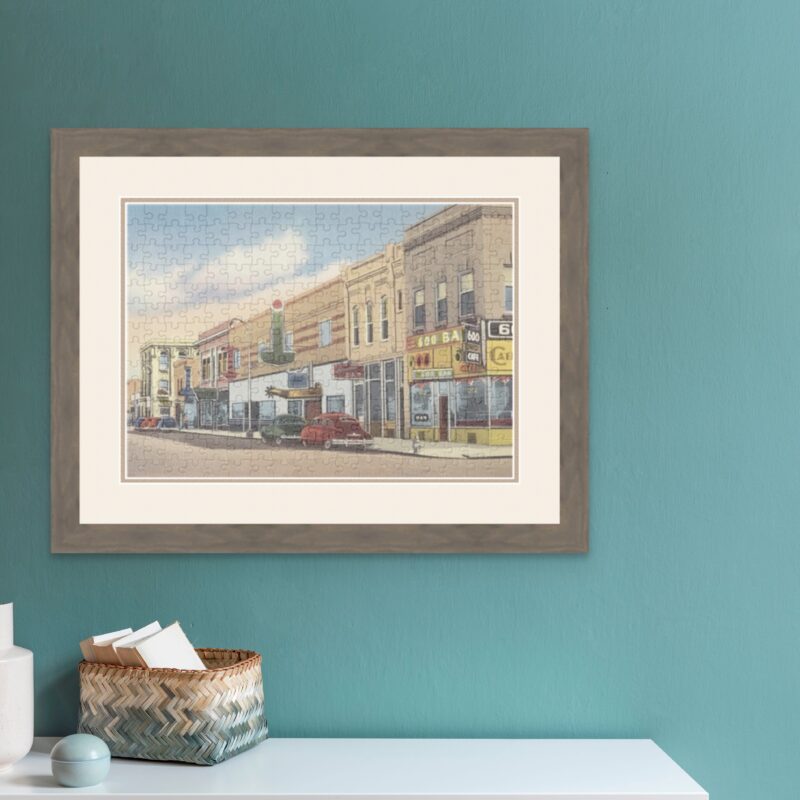
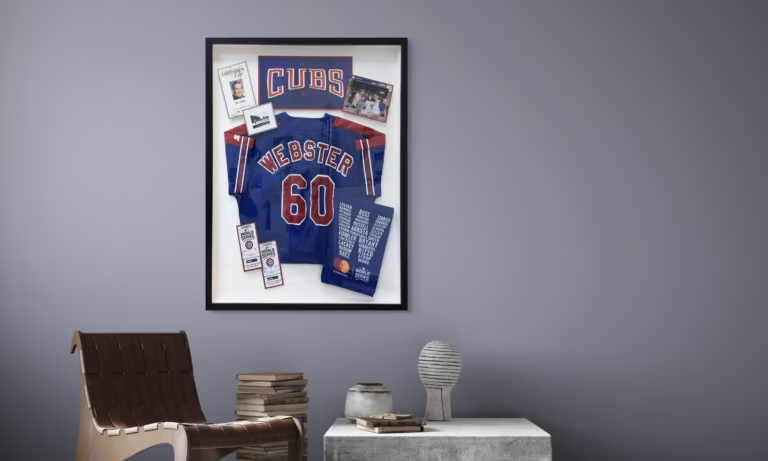
5. Tips for Framing your Puzzle
- We always recommend framing puzzles with a mat. The mat not only adds a decorative touch but also ensures the puzzle doesn’t touch the glass, which can cause it to deteriorate over time.
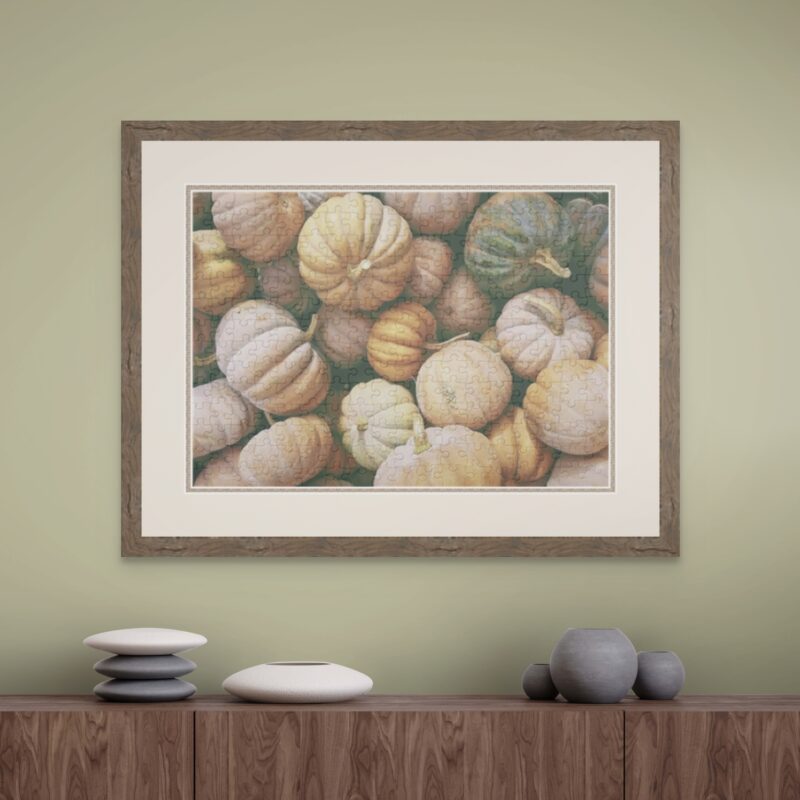
- Choose a mat color that compliments the color palette of the puzzle.
- Decide how much border you want around your puzzle. Most standard mats range between 2-3.5 inches wide. The width of your frame and the size of your puzzle can help guide what size mat to choose. (Get more mat advice here.)
- The puzzle and border dimensions will determine the frame size you need.
- Choose a frame. Consider where the puzzle will hang and choose a frame complementary to the puzzle’s color scheme, the matting color, and the style of surrounding decor in the room where the puzzle will hang.
For expert help, speak to us. Whether you want your puzzle expertly framed or need some help choosing colors and materials, just drop by one of our stores for a free design consultation. Find your nearest FastFrame here.