Frame Your Vacation Photos in 5 Easy Steps

Most of us document our summer travels with lots of photos. Those photos are usually taken with our phones—but too often, they sit in storage, never making it off our devices. Posting pics online is fun, but there’s something to be said for actually printing a photo and hanging it on your wall where it can inspire you every day! So how do you get from point A to point B? Our five easy tips for framing your vacation photos break the process down, so you can fill your walls with your most inspiring summer travel pics!

Step 1: Organize
Any good photographer (amateur or professional) takes several shots of each moment in order to have a few different options. To free up storage space and save time later, go through multiples right away and only keep the best options. It’s also a good idea to make a folder for favorites. Pop extra-special pictures in there whenever you review your camera roll so you have all your very best snaps in one place. (If you don’t have time to do this on vacation, do it when you return home!)

Step 2: Curate
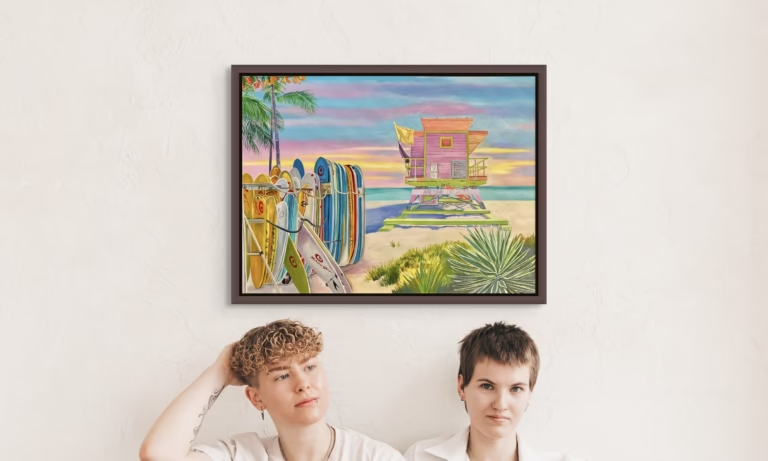
Look through the folder of your favorite pictures. Which ones are the most inspiring or beautiful? Which ones evoke the best memories? Which ones make you happiest? Select your finest photos and then think about your available wall space. Maybe you’d like a few smaller pictures above a desk in your home office. Perhaps you’d like a trio of larger frames in an entryway or one oversize piece above the sofa. If you go with multiples, try to unify them with a similar color palette or theme (such as architecture or natural wonders).

Step 3: Consider
Custom framing allows you to choose many different options—which can be overwhelming if you don’t put some thought into it first! Take a good look at your photos. Are there focal points your eye is naturally drawn to? Are there hues you want to highlight through your framing choices? What is the feel of the pictures? Energetic? Serene? Vibrant? Majestic? Now consider your decor style. Is it traditional, modern, or eclectic? Note your answers and keep them in mind when framing. Your display will also impact your choices—a grid will look best when all the photos have the same mats and frames, while a gallery wall can support an eclectic mix.

TrStep 4: Mat
The purpose of a mat is to enhance your photo and help achieve visual balance. Neutrals like white, gray, and beige are classics that will work with most images. Black is a good option if you want to up the drama factor (it pairs well with architecture or black-and-white photos of people). You can also pick a mat that highlights the undertones in your image—for example, using a clay color to complement a desert landscape. Another popular option is to pair a neutral mat with a more colorful accent mat for a pop of color. Lastly, you can skip the mat for a more minimalist look. This is especially suited for oversized photos with negative space around the focal point.

Step 5: Frame
The ideal frame will enhance your room’s decor while complementing your photos. What you choose will be affected by your personal decor style, but there are a few frame pairings we particularly like. Natural landscapes look lovely with simple wood frames. Modern city scenes pair well with sleek metal. A bustling market, souk, or bazaar could be enhanced by a frame featuring inlay or a carved design. An elegant gold frame can complement classical art and architecture, while you can play into an old world or country scene with a rustic wood option.
We hope you feel inspired to frame all your favorite vacation photos after reading our step-by-step guide! Looking for more custom framing advice? Read How to Choose the Best Picture Frames for Your Decor Style.