How to Frame Pressed Flowers: 5 Easy Tips
With boho and cottagecore trends still going strong, more and more people are embracing art made from pressed flowers. This craft has been popular for decades it’s easy to see why—it’s easy, inexpensive, and yields beautiful results. Try your hand at it with a flower pressing kit, then enhance your creation with the perfect custom frame! (Don’t worry if you’re not into that level of DIY, you can buy pre-made pressed flowers.) If you’re not sure where to start, we’ve outlined five easy tips for how to frame pressed flowers. Your beautifully framed floral creation will add a dose of natural whimsy to your walls!

1. Choose your backing style
Some people start by arranging their pressed flowers, but we think it’s better to choose your backing style first! What you choose to mount your flowers on (or not mount them on) could affect your composition. It’s also easier to create your arrangement on top of your chosen backing and then fix it in place. Some popular backing options are decorative paper, a page from a book, mat board, and handmade paper with textured edges. Another idea is to eschew the backing altogether and frame your pressed flowers between layers of glass.
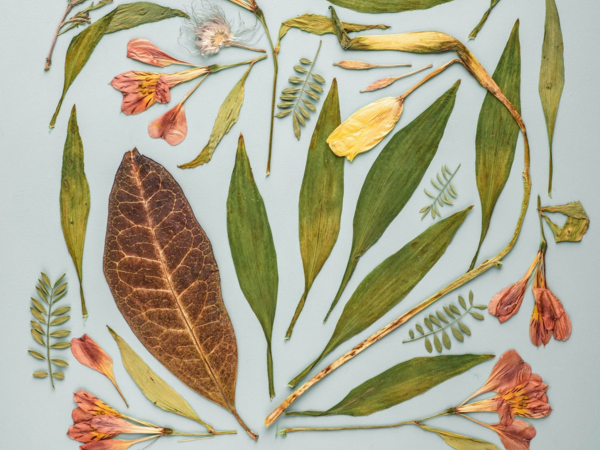
2. Create your arrangement
Look at all the pressed flower pieces you have to work with and think about how they go together. You want to create a balanced composition that considers colors, textures, and shapes. Using a pair of tweezers, carefully move your elements around to experiment with different combinations and placements. Don’t worry about the size of your arrangement—custom framing allows you to create a frame in any size, so you’re not limited by pre-set frame sizes!
3. Fix it in place
Once you have a winning arrangement, use a fixative to keep your pressed flowers in place. It’s important not to go overboard here! If you’re using glue, start with a little bit applied with a small paintbrush and add it as needed. Little pieces of double-sided acid free tape are another good option. Secure your pressed flowers to each other and your chosen backing. If you’re opting for a glass display, just secure any elements that overlap each other, then snap a picture of your arrangement. This will help in case anything gets shifted before you frame it.
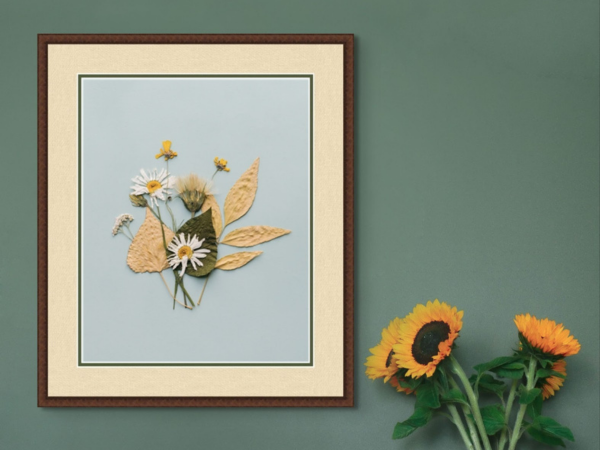
4. Pick your mat + mounting options
You have an opportunity to play here because the sky’s the limit with custom framing! There are hundreds of beautiful mats to choose from and several mounting methods. Personally, we love using multiple mats to enhance pressed flower art. Accent mats can pick up colors from the flowers to create a beautiful composition. It is important for the top mat to be “floated” away from the bottom mat. This will ensure that if any part of the dried flowers should break off, the pieces will fall between the two mats. If you opted for a handmade paper backing, you can choose a float mount that will showcase textured edges. You can also skip the mat for a more streamlined look.
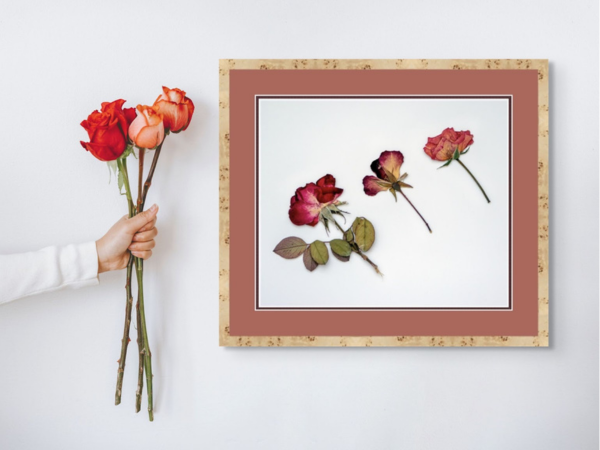
5. Choose your frame
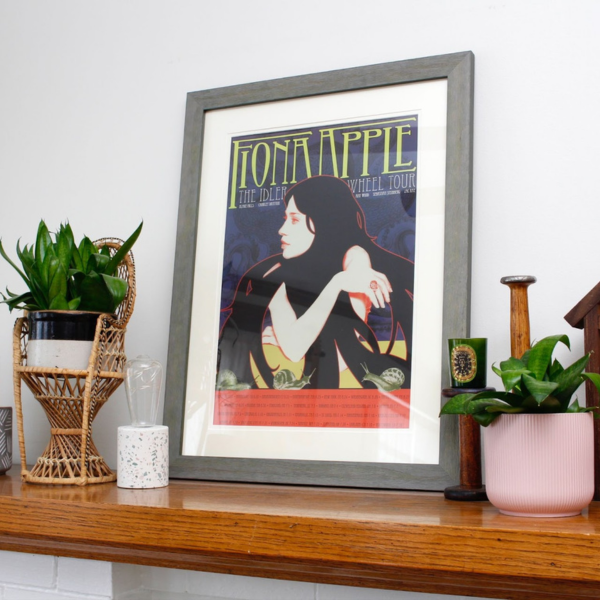
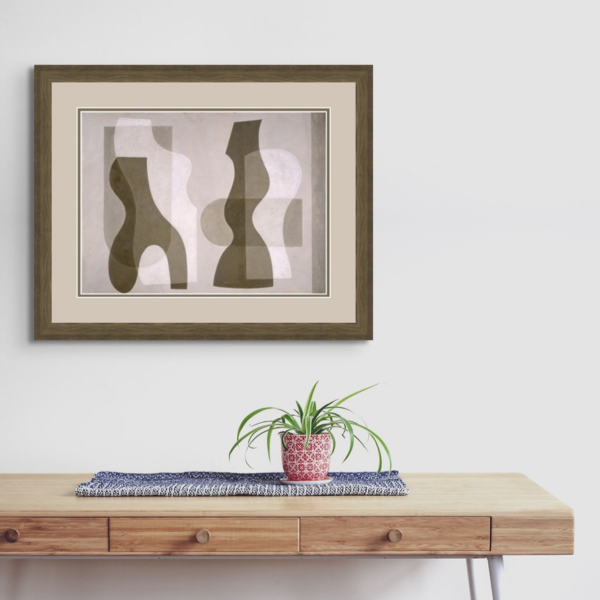
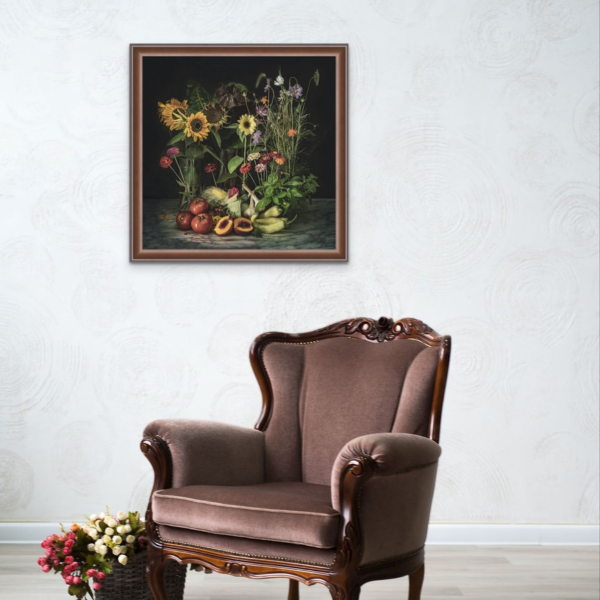
Now it’s time to frame your composition. Wood is a classic choice for framing pressed flowers. It adds warmth and a natural element to your space. Lighter wood tones tend to feel more bohemian, while darker wood tones have more traditional vibes. Metal options can also be fun, though we suggest sticking with thinner metal frames. Generally, we recommend opting for simpler frames that won’t overpower the delicate beauty of your pressed flower arrangement. If you’re going for a glass display, your framer can walk you through the options and recreate your arrangement based on your photo.
Now all you have to do is let FastFrame create your custom frame and then hang your beautiful botanical masterpiece! We hope you enjoyed learning how to frame pressed flowers. Looking for more framing advice? Check out How to Hang Small Artwork with a Big Impact.