Become a Custom Framing Insider
Being prepared feels good. Being an insider feels even better! The custom framing world, in particular, has lots of terms and aspects of the craft that many folks haven’t heard of or don’t completely understand. While you can trust FastFrame designers to have your back as they walk you through the custom framing process, we totally understand that some folks LOVE to be prepared. Having a solid understanding of the lingo they might hear a custom framer use is what some shoppers need. Join us as we thumb through the custom framing dictionary to take you through some terms you may find pertinent to your next project—all to turn you into a custom framing insider!
If you find yourself comparing custom framers, be suspicious of pricing that feels “too good to be true”. You’ll want to ensure you’re working with a properly trained staff (especially if you’re in need of conservation framing)—which brings us to our first term:
1. Conservation framing
A framing method that envelops your artwork in an acid free environment, providing protection over time. Products used in conservation framing include conservation or museum grade matboard and backing, conservation grade glazing and conservation grade hinging products and methods.
Next up, let’s talk about wood. The frame, after all, is usually the first thing we think of when custom framing comes to mind. As you’re choosing frame material at a custom frame shop you’ll quickly see that wood is a common material used for picture frame moulding, which brings us to another term that might feel new:
2. Moulding
A finished wood or other material that is cut and joined together to form a frame. Available in a wide variety of colors, finishes, textures, widths, profiles, and degree of ornamentation
Now, how will your moulding be joined to make the frame? This is a great question to ask your custom framer (again especially if you’re comparing custom framers). Not all framers build their frames with the superior techniques used at FastFrame.
3. Standard joining
The moulding glued and joined with a v-nail system from behind; nail holes are not seen
4. Spline joining
A higher level strength and durability; spline joint offers a larger glue area, reinforcing the joint; necessary on very large or thinner frames
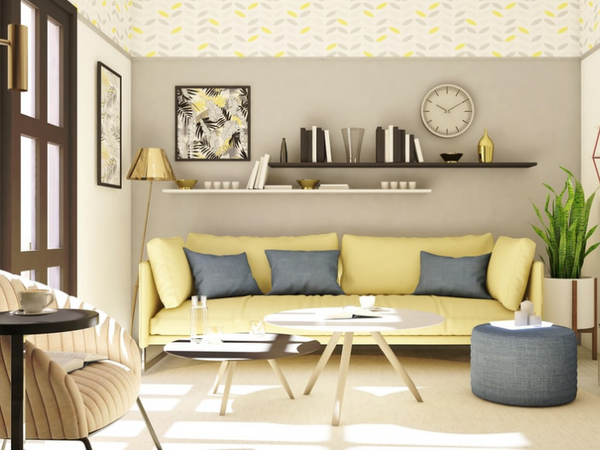
After learning how your choice of moulding will be built into the frame, it’s time to start thinking about presentation styles.
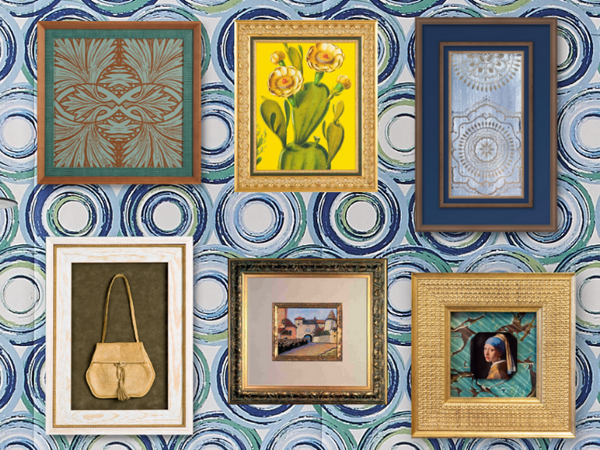
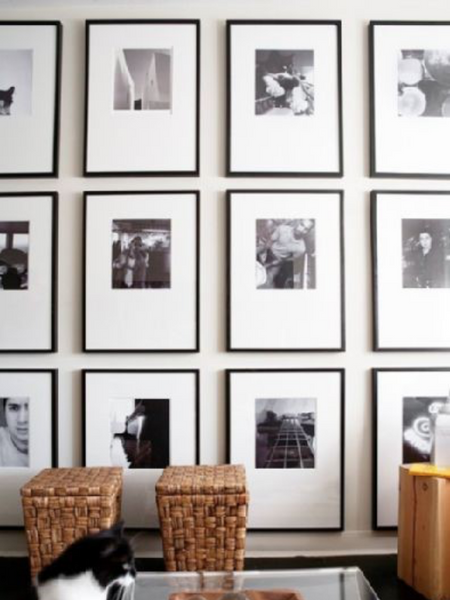
5. Mat mounting
This serves dual purposes within a picture frame. Mats prevent the artwork from touching the glass and create a border to enhance its visual appeal. Also used to cover the edges of the artwork, especially in instances where damage has occured
6. Double mat
Using 2 or more layered mats. The top mat forms the main border while the bottom mat(s) shows slightly around the image. Using multiple mats provides an increased sense of depth to the piece
7. Bottom weighting
This effect is applied to a mat through creating a slightly wider bottom border than sides or top. This counteracts the optical illusion that makes the bottom mat appear thinner than the other sides when the piece is hung on the wall.
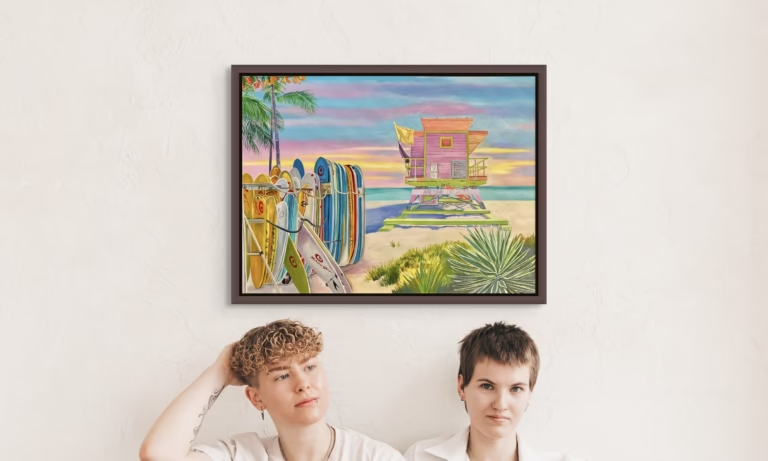
The mat’s most visible purpose is to create space between the frame and the art while highlighting the piece. There are countless colors and finishes of mats to choose from, with your best choice always complementing (not distracting from) your artwork. While mats normally cover the edges of the art or photograph, there are times where you may wish to show the entire artwork, including the paper border. A few of the most common types used are float mounting and shadow box mounting:
8. Float mounting
This method is used when the entire artwork needs to be visible. The artwork is raised off the mat, with or without a backing board concealed behind the image. This creates depth between the image and the mat backing. The frame and glazing are cut larger than the artwork so the mat backing is visible as a border. Glass spacers are used in order to keep a gap between the glass and the artwork.
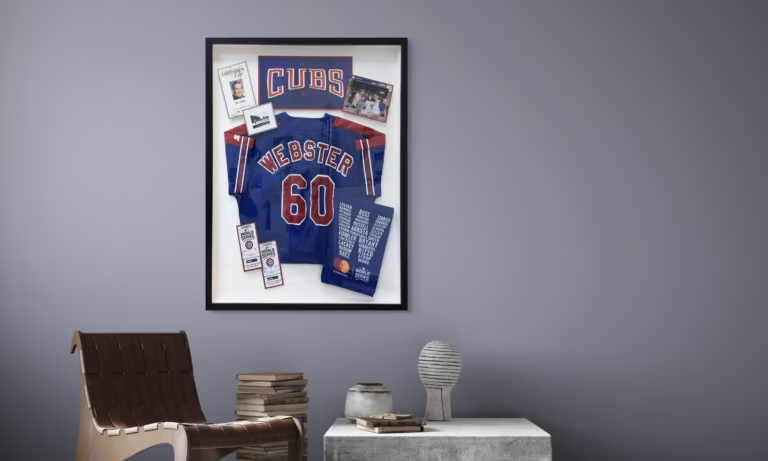
9. Shadow box
This method is designed for the display of three dimensional objects or jerseys. Shadow box frames are available in a variety of depths and should be selected based on the height of the object being framed. As with float mounting, a mat provides the backing for the object being displayed.
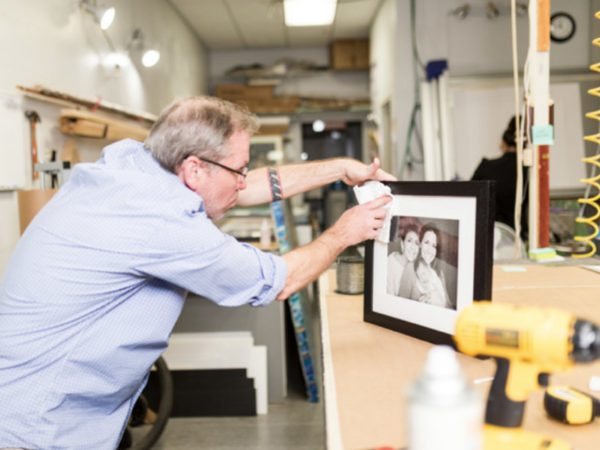
The last piece of the framing puzzle is mounting. Depending on the artwork, your designer will recommend the best mounting technique to use. If conserving special artwork is important or if the piece must maintain archival quality, an adhesive must be used that is acid-free and can be removed without damaging the artwork.
10. Dry mounting
The artwork is permanently adhered to a rigid backing board using a heat-activated adhesive. This method is generally used on less expensive posters, prints and photographs.
11. Wet mounting
The artwork is permanently adhered to a rigid backing board using glue or paste that adheres as it dries. This method is generally used on less expensive posters, prints and photographs that are “thermographic” and cannot be placed into a heat press.
12. Conservation mounting
This method is used with artwork that is valuable, either monetary or sentimental, diplomas, historical documents or any other artwork that you wish to preserve. All of the materials used are either conservation or museum grade, depending on the value of the piece. Most important is that conservation framing is completely reversible and will not damage the artwork overtime.
Your custom framer at FastFrame will be happy to walk you through the materials and mounting options available or necessary for your unique, individual project.
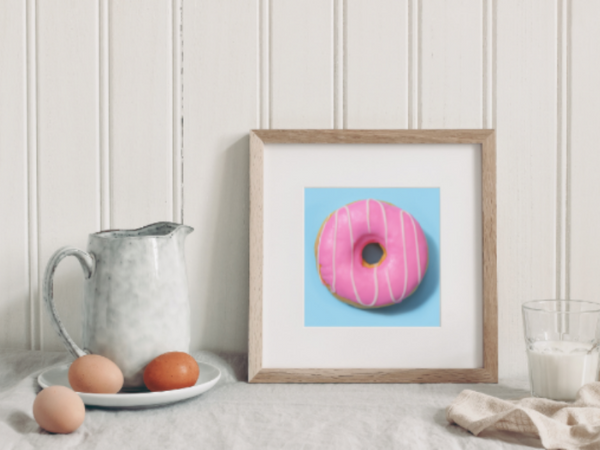
We hope you’re hungry for more, because we’ve left out a pretty important term—glazing. Become a true custom-framing insider by checking out Glazing—Not Just for Doughnuts!, a fun dive into different types of glazing options.